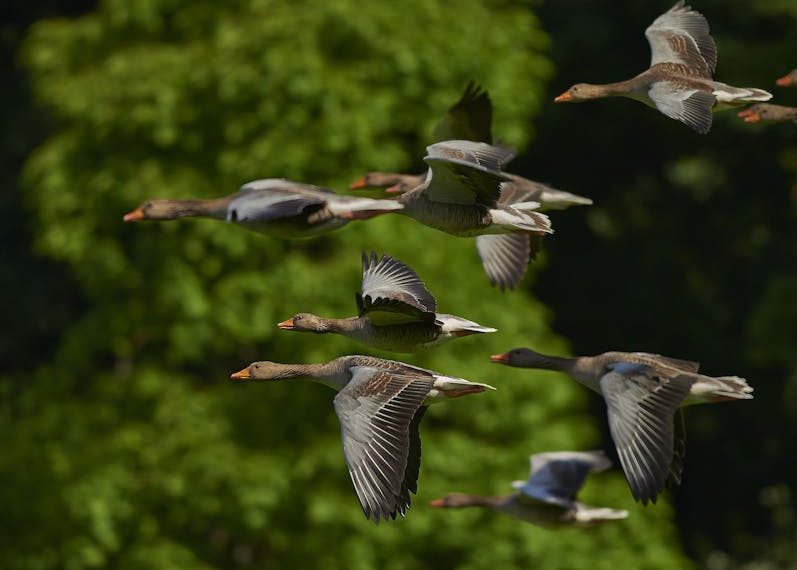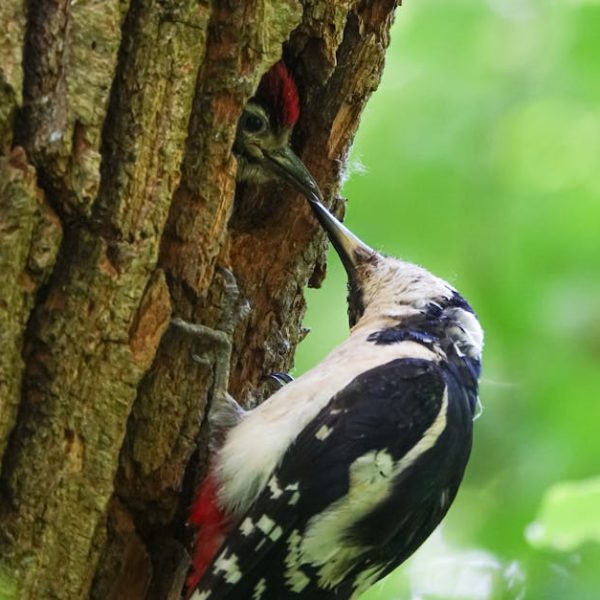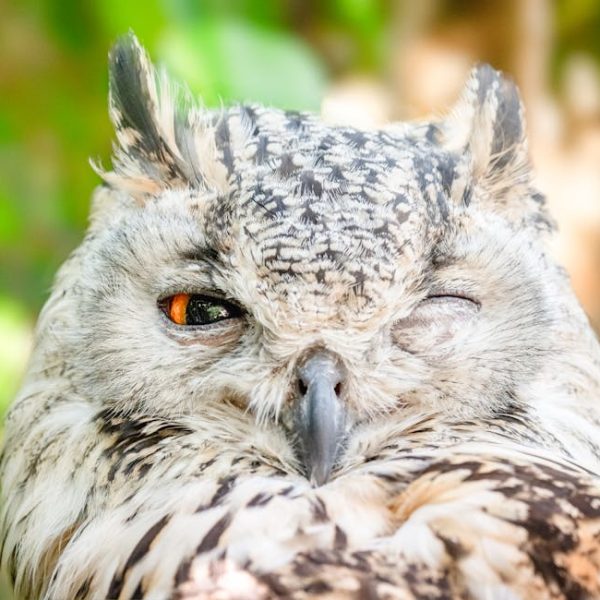
Ever since ancient times, bird taxidermy has offered an intriguing blend of science and art. While once used primarily for scientific study, it’s now also valued for its role in wildlife artistry, allowing us to capture and appreciate the exquisite detail and diversity of our feathered friends. The practice navigates a delicate balance between faithful preservation, meticulous mounting, and artistic display, bringing to life a specimen that is both scientifically accurate and aesthetically pleasing.
We find multiple instruments at play during bird taxidermy, including:
- Scalpels and forceps for precise cutting and handling.
- Borax or other preservatives to prevent decay and insect infestations.
- Materials such as wire, foam, or clay for creating artificial bodies.
- A variety of paints and brushes for adding realistic detail.
Key Steps of the Taxidermy Process
From the initial acquisition of the specimen to the final display, bird taxidermy involves a carefully choreographed series of steps. This process begins with an in-depth examination of the bird’s overall health, transitioning into the delicate work of skinning, cleaning, and preserving the bird. Following this, the taxidermist constructs an artificial body, securing the cleaned skin over it and attaching appendages. The final artistry unfolds in the minute details painted on, leading to judiciously executed display arrangements.
For reference, these are the main steps in bird taxidermy:
- Obtain and examine the specimen
- Skin and clean the bird
- Preserve the feathers
- Create an artificial body
- Attach the skin to the body
- Add finishing touches
- Arrange the display
How to Prepare the Bird Specimen
The initial preparation sets the bedrock for the rest of the taxidermy process. An early determination of your specimen’s health can reveal any diseases, parasites or injuries that may compromise your work. Next, the bird is carefully skinned and cleaned without damaging its delicate feathers. The feathers are then preserved using methods that range from air drying to chemical treatments.
Consider the following when evaluating preservation processes:
- Air drying is cost-effective and straightforward, but it may not sufficiently prevent decay in larger birds.
- Chemical treatments offer a thorough preservation but can be more expensive and require careful handling and disposal.
Mounting and Modelling the Bird
The mounting and modelling stage is where your preserved specimen begins to resemble a lifelike bird again. An artificial body is made, usually from materials like wire, foam, or clay, and serves as a form for fitting the preserved bird skin. The appendages, including wings, tail, and feet, are attached to this constructed body.
The choice of material used for the artificial body greatly influences the end result:
- Wire: light-weight, inexpensive, and flexible for unique poses, but can be time-consuming.
- Foam: easy to carve and shape, holds pins well, but less durable historically, newer quality foams have good durability.
- Clay: enables fine detailing, allows repeated adjustments, but it’s heavy and requires a long drying time.
Adding Finishing Touches and Displaying
The concluding steps in bird taxidermy require a discerning eye for adding painted details and arranging the proper display. Particular attention is paid to the bird’s eye, beak, and feet, as these areas often require extensive coloring and detailing. The final display is then arranged to showcase the bird and properly maintain the longevity of the specimen.
As you finish your display piece, avoid these common pitfalls:
- Incorrect coloring: Use reference photos to accurately match the colors.
- Over-detailing: Less is more, so don’t overdo the details.
- Incorrect feature placement: Double-check the anatomical accuracy, especially of eyes and beak.
Key Takeaway:
- Bird taxidermy is both a scientific and artistic process that involves the preservation, mounting, and display of bird specimens.
- The process requires careful handling of the bird specimen from obtaining, skinning, cleaning, and preserving to mounting and adding finishing touches.
- Understanding bird anatomy and behavior is instrumental to creating realistic, naturalistic results in bird taxidermy.
- Different materials used for creating artificial bodies, like wire, foam, and clay, each have unique advantages and disadvantages.
- The final steps of bird taxidermy involve adding finishing touches like painted details and arranging the display, with a keen eye for color accuracy and feature placement.
Delving into bird taxidermy can be an enriching and rewarding journey, unifying your interest in wildlife and crafts. One of the biggest assets you can stock your toolbox with is patience as crafting a perfect piece often requires time and multiple trials. Embrace the process and watch as you progressively bring life to your bird specimens.
FAQs
Q: How long does it usually take to finish a bird taxidermy project?
A: The length of time it takes to complete a bird taxidermy project can greatly vary. It largely depends on your familiarity and skill level, the size and species of the bird, and the quality of the finished piece you’re aiming for. Generally, it can range from a couple of days to several weeks.
Q: How do I ethically obtain bird specimens for taxidermy?
A: It’s important to source bird specimens ethically. You could use specimens that died of natural causes or accidents, or acquire from legal game hunting, pest control, or vet clinics. Always ensure acquiring specimens complies with local wildlife and conservation laws.
Q: Are there any health risks involved in bird taxidermy?
A: If proper precautions are taken, risks can be minimal. However, it is possible to contract diseases from sick birds or be harmed by certain preservatives and chemicals, so always use protective equipment and make sure your work area is well-ventilated.
Q: Can bird taxidermy be a feasible hobby for city dwellers?
A: Absolutely! It doesn’t matter where you live. As long as you have the interest and can access the necessary tools and materials, you can take up bird taxidermy. It’s worth noting, however, that sourcing your specimens might require additional creativity for city dwellers.
Q: What’s a common beginner mistake in bird taxidermy and how can I avoid it?
A: A common beginner mistake is rushing the process or trying to perfect it on the first try. Remember that bird taxidermy is an art that requires patience and practice. Taking each step slow and steady, learning from any mistakes, and persistently refining your skills can lead to significant progress.
Feel encouraged to explore further posts on our website and share this article with anyone who might find it useful. Happy learning!