Drawing a bird in flight can be one of the most rewarding challenges an artist can undertake, combining beauty, motion, and a touch of the wild. This guide will walk you through the entire process, from your first understanding of bird anatomy, through to the final details that bring your artwork to life.
Understanding the Basics of Bird Anatomy
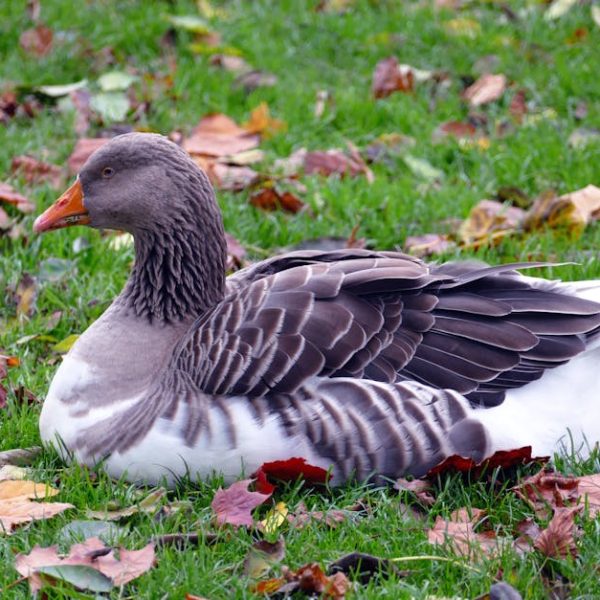
Before you begin sketching, it’s essential to familiarize yourself with the basic anatomy of birds. Focusing on the wings, feathers, and overall body shape is crucial in creating a believable representation. Bird anatomy can be complex and varies between different species, but understanding wings’ structure and how feathers overlap can significantly improve your drawing’s realism.
Here are a few pro tips to help you get started:
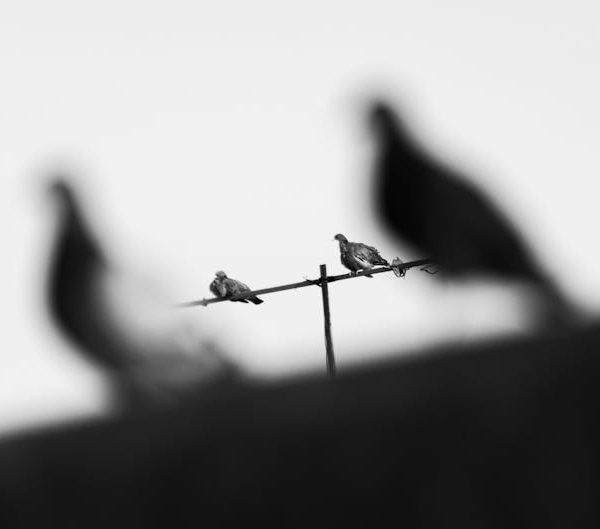
– Study bird images and videos: Observing birds in flight, either in real-life or from a video, can give you a sense of their movement, the way their wings flex, and how their feathers perform during flight.
– Practice makes perfect: As with learning anything new, practice is key. Start by sketching individual bird parts – wings, beaks, feet. This will help your hand get used to the shapes and give you greater confidence when you start on entire birds.
Steps to Sketch a Basic Outline of a Bird in Flight
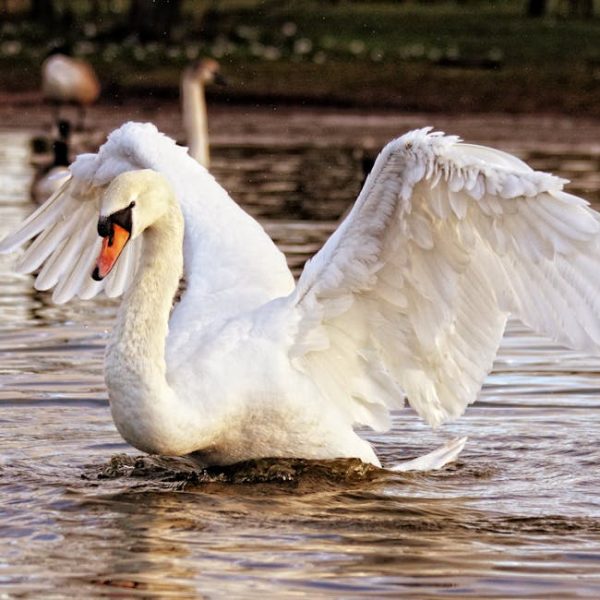
When setting out to draw a bird in flight, start with a reference image that clearly shows the bird’s pose and details. Your first lines should capture the bird’s essential shapes—its body, head, wings—before moving to finer details like feathers and eyes.
Here is a basic step-by-step on how to create your initial sketch:
1. Capture the basic shapes: Keep the lines light and adjust as needed. The bird’s body is often oval or teardrop-shaped, while the wings can be represented by triangles or elongated shapes.
2. Indicate the direction of feathers: Draw lines to indicate which direction the feathers will flow.
While it may be tempting to jump directly to detail work, missing the sketching stage can lead to inaccurate proportions and a less convincing drawing.
Drawing Details: Wings and Feathers
Once your basic sketch is on point, it’s time to move to the detail work, focusing particularly on the wings and feathers. Each feather should be individually drawn, considering its shape and direction. The texture of the bird’s feathers can then be indicated with careful shading.
Here are some tips to capture bird feathers effectively:
– Add feather detail gradually: Start by indicating feather groups before drawing each feather separately.
– Use shading for texture and depth: Feathers aren’t flat; they have a certain depth and curve to them. Using shading can help represent this.
Adding Motion: Capturing the Dynamism of Flight
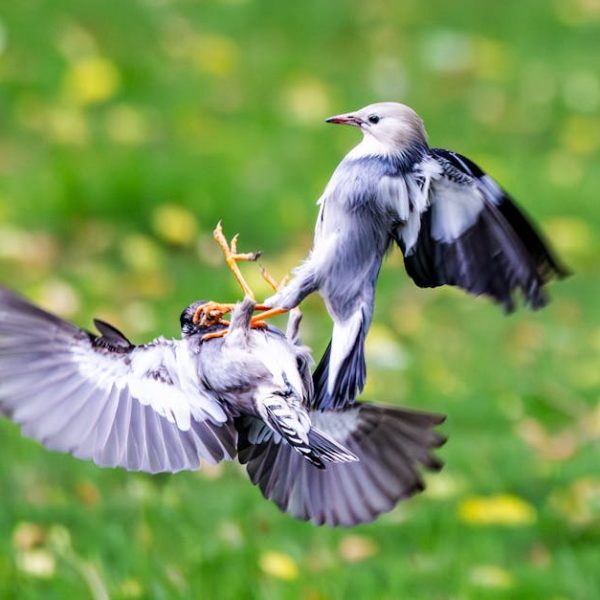
A successfully drawn bird in flight offers viewers more than just a static image. It provides a sense of dynamism, drama, and the illusion of movement. Strategies like blurring, motion lines, or shifts in the positions of wings can all help create this effect.
Key methods for translating flight motion on paper include:
– Drawing motion lines: These lines add a sense of speed and direction to your sketch.
– Dynamic poses: Capturing the wings at various positions during a flight cycle can help convey motion.
Stick around, as we’re yet to delve into the final aspects of polishing your bird drawing. We will offer insight on refining your sketch and adding a professional touch to it.
Finalizing and Refining Your Sketch
When you’re satisfied with your bird’s motion and details, it’s time to focus on finalizing and refining your drawing. This stage includes checking proportions, polishing lines, and ensuring that all necessary details have been included.
Use this checklist to help refine your final sketch:
– Check your proportions: It’s worth taking a last look at the shape and size of each component of the bird, making sure everything is well-balanced and accurate.
– Blend shadows and highlights: Adjust the areas of shadow and light to add depth and realism to your drawing.
– Polish your details: Now is the time to ensure that every feather, the beak, and the eye are detailed and realistic-looking.
Drawing a bird in flight is an exciting challenge with a rewarding outcome. Each step in the process is critical—from understanding bird anatomy, to sketching the basic outline, detailing wings and feathers, capturing the dynamism of flight, and finishing with refining and perfecting your masterpiece.
Isn’t it exciting, the process of seeing your sketches take flight? Happy drawing and remember, practice makes perfect!
Key Takeaway:
- The mastery of drawing flying birds involves understanding bird anatomy, capturing the basic shape, adding details like the wings and feathers, depicting motion, and refining the final sketch.
- The importance of understanding bird anatomy provides a foundation for starting the sketch, to bringing the sketch to life with intricate feather details, expressing flight motion, and perfecting the overall appearance in the final stage.
- The process reinforces the value of patience, attention to detail, and the effectiveness of gradual buildup from basic shapes to complex details.
Stay positive and remember, each drawing helps you improve your skills, brings you closer to mastering bird sketch, and cultivates a deeper appreciation for the exquisite beauty and grace of birds in flight. So, keep practicing, stay curious and always find joy in each stroke.
FAQs
Q: How can I improve my accuracy while drawing birds?
A: To improve accuracy, focus on understanding bird anatomy. It’s also beneficial to use reference images and practice drawing individual bird parts before attempting to draw the whole bird in flight.
Q: What’s the significance of knowing the wings’ structure and how feathers overlap?
A: Understanding the wings’ structure and overlapping feathers helps in adding realistic detail to the bird sketch. It adds texture and depth and contributes to the illusion of the bird’s movement.
Q: Why is it advised to start with basic shapes for bird sketch?
A: Starting with basic shapes guides your drawing, helps maintain accurate proportions, and forms a solid foundation for detailed drawings later in the process.
Q: How can I depict the dynamic of flight in my drawings?
A: Use techniques like drawing motion lines, using dynamic poses and capturing changing wing positions in different stages of flight. Also, consider light effects and shadow placement to show depth and movement.
Q: What are some tips for refining the final sketch?
A: Check your proportions to ensure accurate representation. Blend shadow and highlights to create depth and realism. Finally, polish all your details, ensuring that feathers, beaks, and eyes are detailed and realistic.
The process of mastering the art of drawing flying birds is complex yet fulfilling. Don’t shy away from the process or the practice. Remember that art grows with you over time. Share this article with others who may find it useful, and explore our other posts to gather tips on other art forms. Happy drawing!