Drawing birds may seem complicated, but it can be a piece of cake when you break it down into simple shapes. Even if you’re a novice artist, this guide will help you get started on the delightful journey of bird drawing. By following the straightforward process of starting with basic shapes and progressively adding more detail, you can bring the wonders of the avian world to paper with ease.
Let’s start with the basics – the simple shapes that form the fundamental structure of any bird. Whether you’re planning to draw an albatross soaring over the ocean, or a sparrow nestled in a tree, the process always begins with a few simple shapes like circles, ovals, and triangles. A circle or oval often serves as the base for a bird’s head, while an oval or a slightly elongated circle forms the body. The beak and feet, can take the form of small triangles or elongated ovals.
The best approach to sketching these shapes is to do so lightly. This makes it easy to adjust and refine them later. In the beginning stages, focus more on getting the placement and overall shape right, rather than the fine details.
After outlining the bird’s shape, the next step is to add some basic details. Even just a few well-placed lines can transform a generic bird form into a recognizable species. To draw eyes, add two small circles or ovals, and then fill them in, leaving a small white circle for the shine. Draw a small triangle for the beak, and add lines or tiny triangles on the feet for claws. Suggest feathers with partial lines or shapes along the bird’s body and wings.
Drawing Different Kinds of Birds
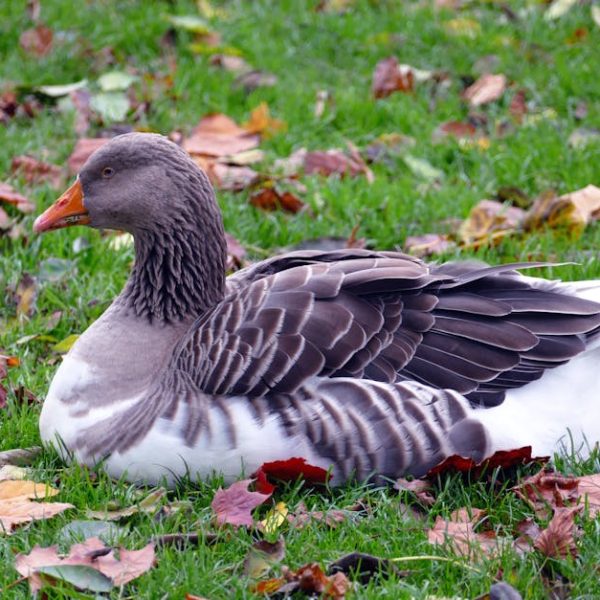
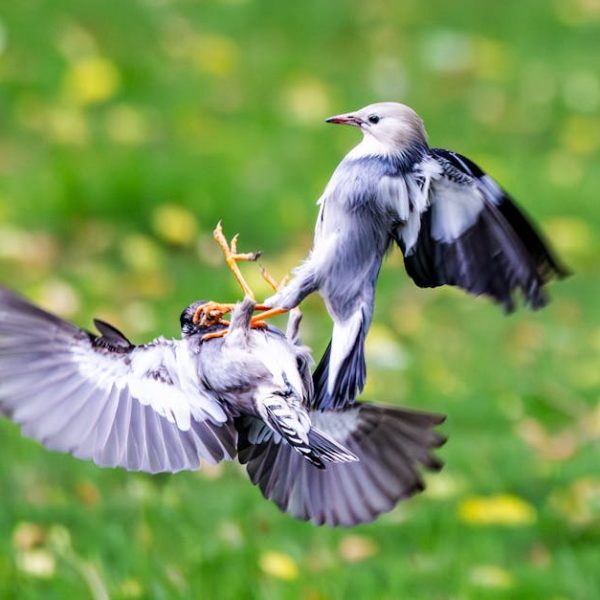
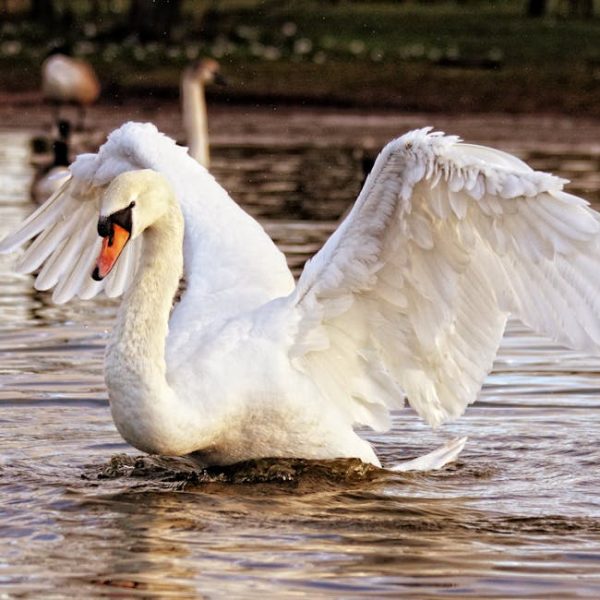
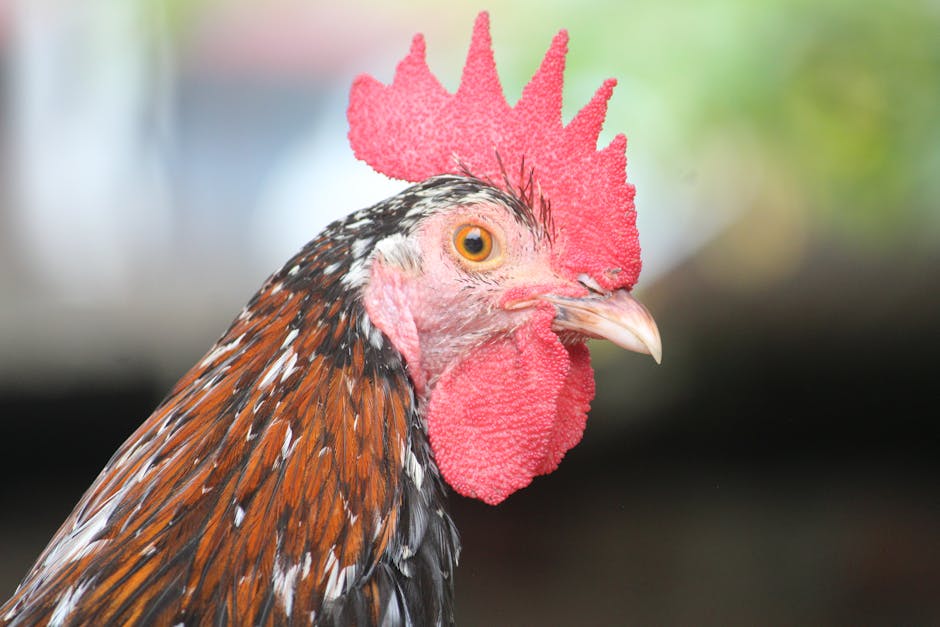
The beauty of drawing birds lies in their diversity. From the tiniest hummingbird to the grandest eagle, each bird is a unique marvel that can be captured on paper with a little practice. By making slight adjustments to the proportions, shapes, and details used in your bird sketches, you can recreate a broad range of bird species.
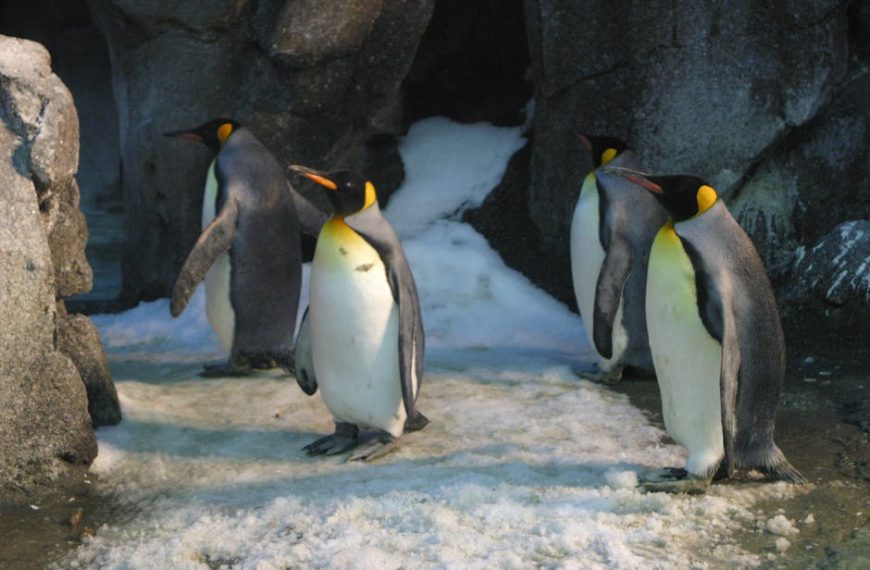
A penguin might require a round body and a straight, pointed beak, while to depict a flamingo, think of elongated ovals, and curve the lines more to represent the long neck and legs. Paying attention to these particulars can help you capture each bird’s unique essence accurately.
To maintain these distinctive features and shapes for each bird type, try creating a brief checklist or visual guide. Having this information at your fingertips can make it easier when you’re trying to draw a new kind of bird from memory.
Shading and Coloring Your Bird Drawings
Color and shading are like the final spices in a well-cooked dish, adding depth and flavor that really make it stand out. Whether you want to keep it simple with just black and white, or go all out with an array of vibrant hues, here’s how to shade and color your bird drawings effectively.
Gradually building up your shading or color is the key here. Like an artist layering paint on a canvas, start with light shades and gradually add darker ones for depth. Imagine where the light source is and use this to guide your shading or coloring. Lighter shades work best for the parts that are directly hit by the light (the highlights), and darker shades for the less-lit parts (the shadows).
Improving Your Bird Drawing Skills
Drawing is like learning to play a musical instrument. It takes practice, and lots of it. But the more time and effort you invest, the better you’ll become. There are a couple of tried-and-true strategies you can follow to see steady improvement in your bird-drawing skills.
A common pitfall many budding artists encounter is inconsistent practice. Drawing frequently allows you to continually build on your skills, leading to steady improvement over time. In contrast, irregular or infrequent practice may lead to practicing old mistakes.
According to a study conducted by Anders Ericsson, frequently practicing a skill can lead to mastering that skill in a shorter amount of time. Here’s a quick comparison:
| Practicing Habits | Result |
|---|---|
| Practicing Frequently | Faster Improvement |
| Occasional Practice | Slower or Stagnant Improvement |
To make your practice sessions even more effective, consider playing around with different styles and mediums. Drawing with pencils, markers, paints, and even digitally can give you a new perspective on your art and open up different possibilities. Similarly, consider drawing from observation or using a reference image to help you effectively capture the details of different bird species.
Conclusion
Drawing birds is a wonderful way to express your creativity, enhance your drawing skills, and deepen your appreciation for our winged friends in the nature. Remember, the key is to keep it simple at first- start with basic shapes, add details gradually, and practice often. The more you practice, the more confident and skilled you’ll become. So, pick up your drawing tools, and let your artistic journey take flight! Happy drawing!
Key Takeaway:
- Bird drawing for beginners can be simplified into manageable steps: starting with the basic shapes, adding details, drawing various bird kinds, shading, coloring, and consistent practice.
- Basic shapes like circles, ovals, and triangles serve as a foundation for a bird’s structure, which can be refined with more details like eyes, beak, feathers, and claws.
- Modifying these shapes and details can help depict different types of birds accurately.
- Shading and coloring bring life to the drawing, adding depth, and enhancing realism.
- Frequent practice, drawing from different angles, positions, and varying drawing mediums improve bird-drawing skills over time.
Art is a beautiful journey, and every skill learned brings you a step closer to expressing your creativity. As a beginner, kicking off your bird drawing venture may seem challenging, but remember, each stroke you make contributes to your progress. Start small, practice regularly, and don’t forget to enjoy the process. It’s time to let your creativity take flight!
FAQs
Q: How can I perfect the anatomy of the birds while drawing?
A: To perfect the anatomy of birds, practice drawing them from different angles and positions. Observing real-life birds or using reference pictures can be quite helpful.
Q: Why should I start the drawing with light sketches?
A: Lightly sketching the initial shapes of your bird drawing allows for easy adjustments and refinements in later stages of your work.
Q: What should I focus on when adding details to the initial shapes?
A: Start with broader details before moving to finer ones like eyes, beak, feathers, and claws. This approach helps establish the overall picture before delving into minutiae.
Q: How can I depict different types of birds accurately?
A: You can depict different bird types by modifying the initial shapes and details suitable for each bird. Observing key features and behavior of the bird you wish to draw can aid in accurate representation.
Q: How can I make my bird drawings look realistic with shading and coloring?
A: To achieve realism, gradually build your shading or color from light to dark, imagining where the light source hits the bird body. Using reference pictures can help you understand color variance and light reflection in feathers.
We encourage you to share this article with fellow art enthusiasts and explore more beginner-friendly art posts on our site. Every artistic journey is remarkable, and we’re thrilled to be a part of yours!