Creating your own PVC bird art isn’t just fun; it’s an engaging way to foster your DIY skills. But before starting, it’s crucial to gather all your materials. You’ll primarily need different sizes and types of PVC pipes, which will form the body, head, wings, and tail of your bird sculpture. Additionally, you’ll need acrylic paints to add vibrant life to your creation, adhesives to secure the different parts, and cutting tools to shape the pipes.
- PVC pipes of varying diameters and lengths
- PVC cutter or saw
- Sandpaper for smoothening edges
- Acrylic paints
- Paintbrushes
- Adhesive
- Protective gear such as gloves and goggles
While standard home improvement stores are a good place to start your search, specialized hobby shops often carry a broader range of materials. Remember that quality matters, too. Investing in good-quality paint and adhesive, for instance, will ensure a more polished result and a longer-lasting sculpture.
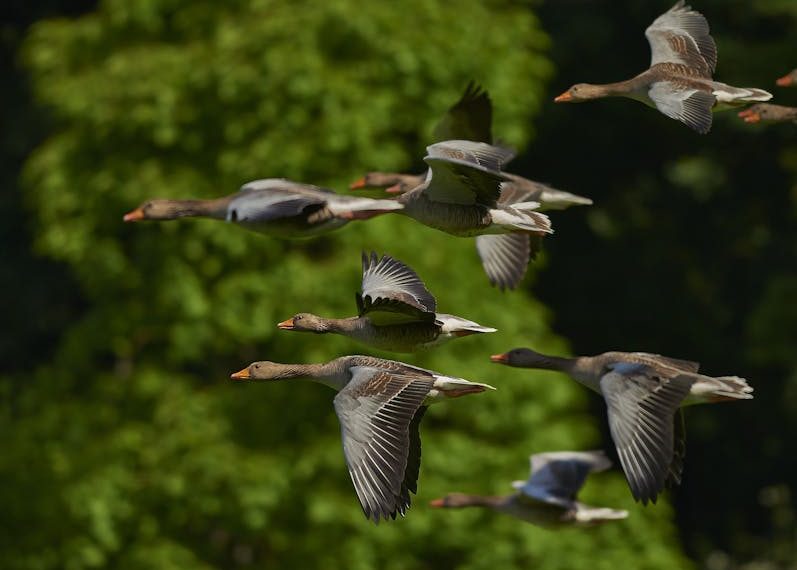
Deciding on Bird Design
The choice of the bird design is pivotal because it will dictate the cutting and painting process. It’s essential that you decide on a bird design before starting your project.
Comparing birds might seem like comparing apples to oranges because every bird type has its unique characteristics. A sparrow design, for instance, is simpler and requires less time to finish. But if you’re up for a challenge, you might want to try crafting a multicolored parrot or a regal peacock.
Deciding factors:
- Complexity of the design
- Amount of detailing required in terms of painting
- Time and skill level required
A pro tip for beginners: Start with a less complex design such as a pigeon or a sparrow. These birds have simpler body structures and fewer colors, making them easier to replicate. As you gain more confidence, work your way up to more intricate designs.
Cutting PVC Pipes to Fit the Design
Once you have your materials and bird design in place, it’s time to cut your PVC pipes. Keep in mind that safety is paramount when handling potentially hazardous tools.
- Decide on the length and diameter of the cuts based on your design.
- Measure and mark your PVC pipe with a marker.
- Wearing protective gear, carefully use the PVC cutter or saw to cut along the markings.
- Smooth out any harsh edges using sandpaper.
- Repeat the process for all necessary pieces (as per your design).
Getting accurate cuts is crucial because your bird’s final look hinges on precision. Always double-check your measurements before you start carving away.
With a well-prepared plan, the right set of tools, and a little patience, you’re now ready to start cutting, assembling, and painting to bring your PVC bird design to life!
Assembling the Bird
Now that you’ve laid the groundwork, it’s time to build your bird. Here are some step-by-step instructions to help guide you:
- Begin by identifying the largest piece of PVC pipe – this will serve as the body of your bird.
- Decide where you want to place the wings––these should usually go about halfway up the body. Attach the wings to the body using adhesive.
- Once you’ve secured the wings, it’s time to attach the head on top of the body. Follow this by mounting the tail at the back bottom of the body, creating a balanced silhouette.
- Give your bird some character by adding beaks and eyes with smaller cut pieces of PVC or painted details.
- Use your adhesive to secure all the pieces together and allow ample time for the adhesive to dry (overnight is recommended).
A pro tip here: to make your bird sculpture more stable, consider using a stand or base. This could be a flat piece of wood or a heavy-duty wire (like a hanger) bent to hold your bird in place.
Painting and Finishing the PVC Bird
Painting your PVC bird requires a bit more finesse, but the vibrant result is incredibly rewarding. Here is a step-by-step guide:
- Start by applying a primer coat to your bird. This will help your paint to adhere to the PVC surface and will make your colors pop. Allow the primer to dry thoroughly before moving on.
- After the primer has dried, start painting your bird according to your chosen design. Be creative! Bring your bird to life by adding colors and patterns.
- Once the paint has dried, you might want to add a finish or varnish. This not only gives the bird a shiny or matte finish (depending on the varnish you choose) but also provides a layer of protection against weather and sun damage.
Let’s compare different paint finishes:
| Matte | Glossy | |
|---|---|---|
| Appearance | Flat, non-reflective surface | Shiny, reflective surface |
| Durability | Prone to scratches, shows dirt and fingerprints less | More durable, tends to show dirt and fingerprints more |
| Suitability | Ideal for rustic, vintage, and art-inspired bird designs | Better for modern, vibrant, and real-like bird designs |
When it comes to safety, consider using non-toxic paints and finishes. This is important not just for you, but also for the environment, especially if your bird will be displayed outdoors. Additionally, if there are children around who may come into contact with your bird, safety should be your utmost priority.
And that’s it! You’ve now completed your own PVC bird. With a little patience and creativity, you can create a great-looking piece of art that’s sure to impress. Keep on practicing, and you’ll be building a flock of PVC birds in no time!
Key Takeaway:
- The materials needed for crafting a PVC bird mainly include PVC pipes of varying sizes, a PVC cutter or saw, sandpaper, acrylic paints, paintbrushes, and adhesive. Stocking up quality materials will result in a more polished and durable bird sculpture.
- The choice of bird design will impact the complexity and time spent on the project. Starting with simpler designs is advised for beginners.
- Safety is paramount in the cutting stage. Accurate and careful measure and cut of PVC pipes are essential.
- Assembling the bird involves attaching the wings, head, and tail to the body piece and ensuring these are properly secured.
- Applying a coat of primer before painting, and finishing with varnish can enhance and protect the bird sculpture. Using non-toxic paints and finishes is highly recommended.
Crafting a PVC bird might seem daunting at first, but with the right tools, patience, and a creative spirit, you can create impressive bird sculptures. Practice is the key to perfecting your designs. So get out those pipes, kick-start your craft skills, and soon enough, you’ll have a flock of your very own PVC birds!
FAQs
Q: What precautions should I take when working with PVC?
A: Always use protective gear such as gloves and safety glasses when cutting or handling PVC to prevent injury. When painting or applying adhesive, work in a well-ventilated area and avoid direct inhalation of any fumes.
Q: Can I use other materials aside from PVC to make bird sculptures?
A: Of course! The principles of design and assembly can be applied to many materials. You could try wood, metal, or even cardboard. However, remember that different materials may require different tools and handling techniques.
Q: Can I paint the PVC pieces before assembling the bird?
A: You certainly can paint the PVC pieces beforehand. However, in some cases, assembling the bird first might make it easier to visualize and apply your design, particularly for complex patterns.
Q: How can I make my PVC bird sculpture more stable?
A: Consider using a stand or base. A flat piece of wood or heavy-duty wire shaped to hold your bird can provide additional stability.
Q: Is there a way to make my PVC bird weather-resistant?
A: Yes, applying a layer of varnish or finish after painting can help protect your bird sculpture from weather and sun damage. Ensure the finish you use is suitable for outdoor use.
If you found this guide helpful, be sure to share it and explore other posts on our website for more craft ideas!